In order to route all your emails to a specific server, you can use Email Routing feature in cPanel.
Here I am going to walk you through the steps to change Email Routing using cPanel.
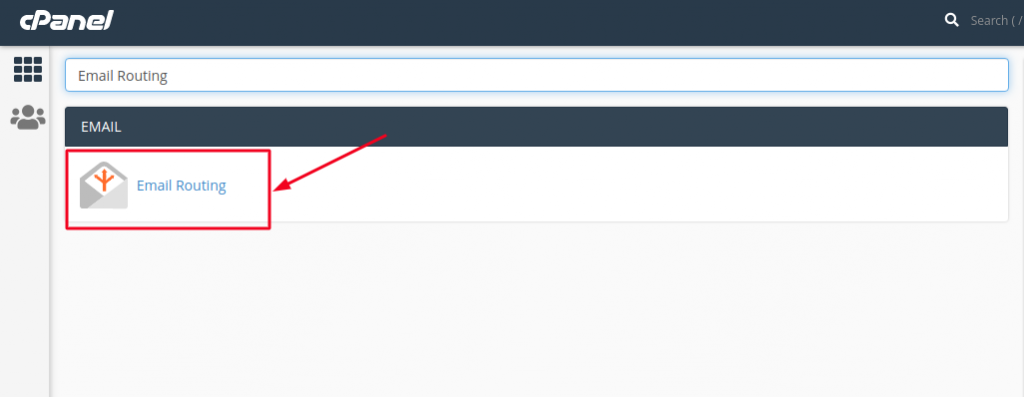
- Login to your cPanel account and search for Email Routing and click on it.
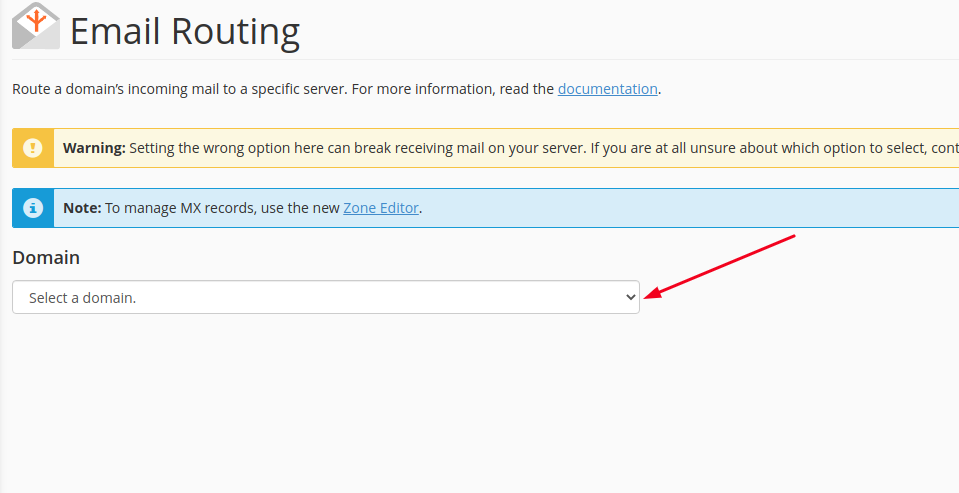
- If you have added more than one domain in your account then select the desired domain from the drop-down menu. If only one domain exists on your cPanel account, the system selects it automatically.
- Now, you will be able to configure Email Routing using any of the four options dispalyed:

Automatically Detect Configuration– The system automatically detects which configuration is to be selected according to the priorities of the Domain’s MX records- Local, Backup, or Remote mail Exchanger.
Local Mail Exchanger– Enables the server to receive emails even if any MX entry of higher priority is found. The system will deliver to both local and Mail Server.
Backup Mail Exchanger– The server will act as a Backup exchanger. If the Primary Mail Server is down, then the server will hold all the emails until the Primary Mail Server is up again.
Remote Mail Exchanger- The server will not accept mail for this domain. The system sends all mail for this domain to the lowest numbered mail exchanger.
- Once you have selected the desired option, click on Change button.

This is how you can easily configure your Email Routing through cPanel.