
How to restrict Webuzo panel access to your IP
Summary
This article explains how to whitelist an IP address in the Webuzo Control Panel using the Brute Force Protection settings. Whitelisting an IP address ensures that the specified IP can access the Webuzo panel only.
Applies To
Webuzo Control Panel
VPS Hosting Servers
Dedicated Servers running Webuzo
Symptoms
Unable to access the Webuzo panel from a specific IP address.
IP address being blocked due to multiple failed login attempts.
Access restrictions caused by Brute Force Protection settings.
Resolution
Step 1: Log in to your Webuzo Control Panel using your administrator credentials.
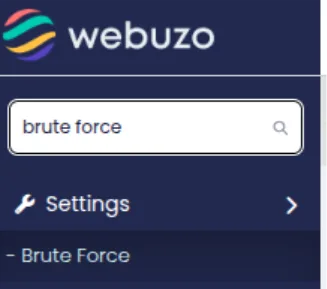
Step 2: In the search bar located within the Webuzo panel, type Brute Force and select the Brute Force Protection option from the results.
Step 3: On the Brute Force Protection page, scroll down to locate the Allow IP List section.
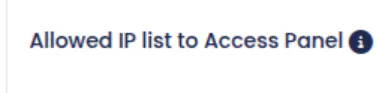
Step 4: In the Allow IP List field, enter the IP address that you want to whitelist for panel access.

Step 5: Click Save Settings to apply the changes and whitelist the specified IP address.

Verification
To verify that the IP address has been successfully whitelisted:
Return to the Brute Force Protection page.
Confirm that the IP address appears in the Allow IP List.
Attempt to access the Webuzo panel from the whitelisted IP address.
Ensure that access is granted without any blocking or restriction messages.
Troubleshooting
Verify that the correct public IP address was added to the Allow IP List.
Ensure there are no typing errors in the IP address entry.
Clear your browser cache or try accessing the panel from a different browser.
If the IP was previously blocked, remove it from any block lists and re-add it to the Allow IP List.
- whitelist
- webuzo
- IP address
- panel