
How to Install Webuzo on a Linux Server
Summary
This article provides step-by-step instructions for installing Webuzo on a Linux server. Webuzo is a single-user control panel that simplifies website, database, email, and server management through a web-based interface.
Applies To
Linux Servers
Symptoms
Users may encounter one or more of the following situations:
Need a web hosting control panel for server administration.
Require a graphical interface to manage websites and databases.
Resolution
Follow the steps below to install Webuzo on your Linux server.
Prerequisites
Root access to the server.
Step 1: Access the Server as Root
Log in to the server via SSH as the root user.
ssh root@<server-ip> -p <port>
Step 2: Update the Server
Update all installed packages before starting the installation.
For CentOS/AlmaLinux/: yum update -y
For Ubuntu/Debian: apt update && apt upgrade -y
Step 3: Download the Webuzo Installer
Since you are already logged in as root, download the Webuzo installation script directly.
wget -N https://files.webuzo.com/install.sh
Step 5: Access the Webuzo Control Panel
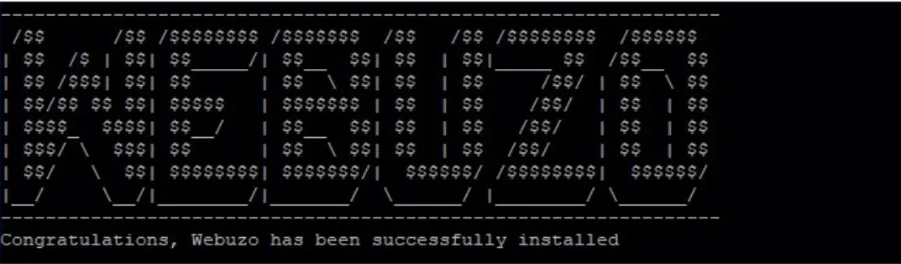
After the installation is completed, open a web browser and access Webuzo using one of the following URLs:
https://SERVER-IP:2005
Replace SERVER-IP with the public IP address of your server.
Step 6: Complete Initial Configuration
Log in using the root credentials.
Review and accept the license agreement.
Configure server settings as required.
Configure nameservers and services if applicable.
Verify that all required services are running.
Verification
To confirm that Webuzo is installed successfully:
Browse to https://SERVER-IP:2005.
Verify that the Webuzo login page loads.
Log in using the administrator credentials.
Confirm that the dashboard is accessible.