
How to Flush DNS Cache in Windows and Mac OS
DNS cache stores domain lookup information locally to improve browsing speed. If DNS records have recently changed, your device may still use outdated information. Flushing the DNS cache clears the stored records and forces the system to retrieve updated DNS information.
Microsoft Windows
The following command will work on Windows 7, 8, 10 + Windows Server, but opening the command prompt is slightly different for each version.
Steps to Flush DNS Cache on Windows
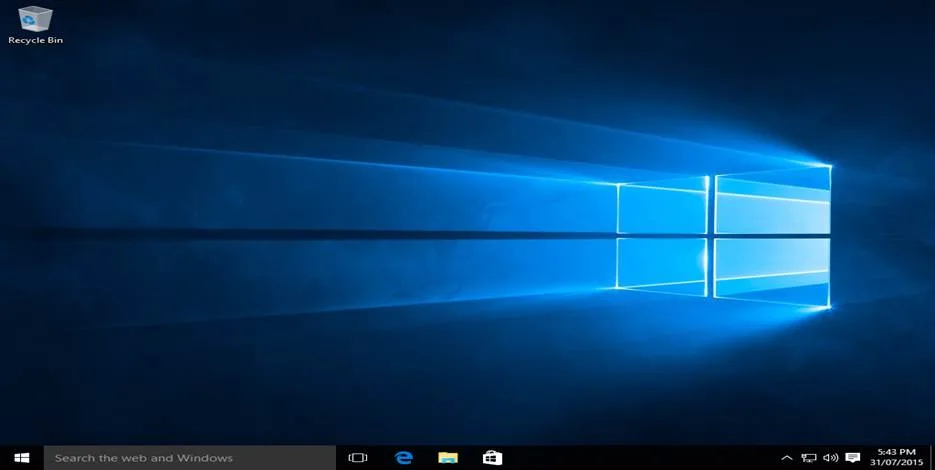
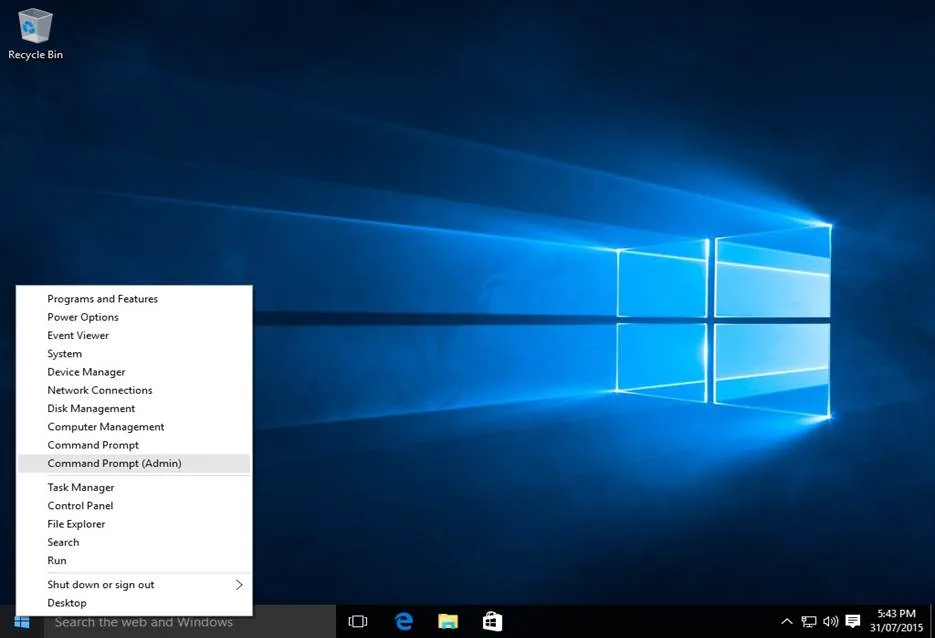
Right-click on the Start Menu.
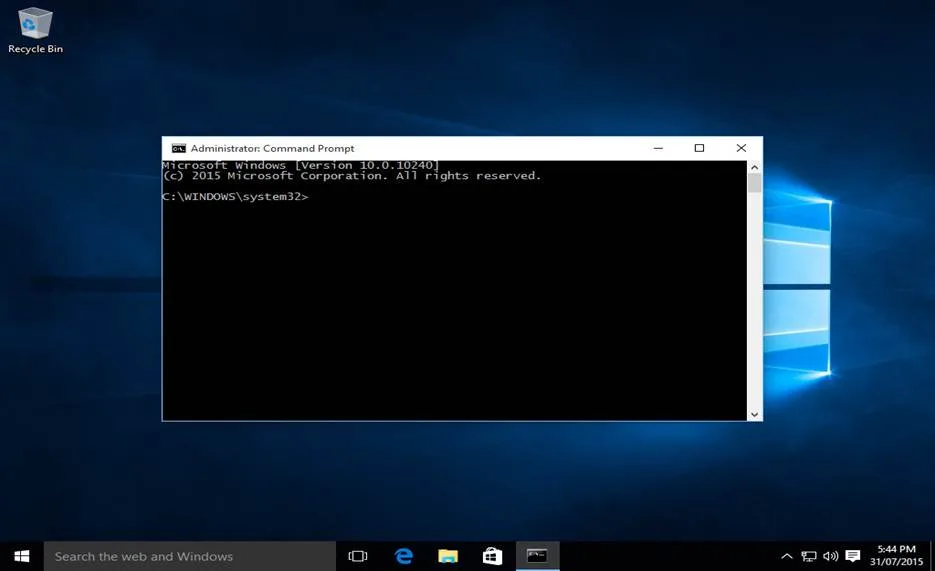
Select Command Prompt (Admin) or Windows PowerShell (Admin).
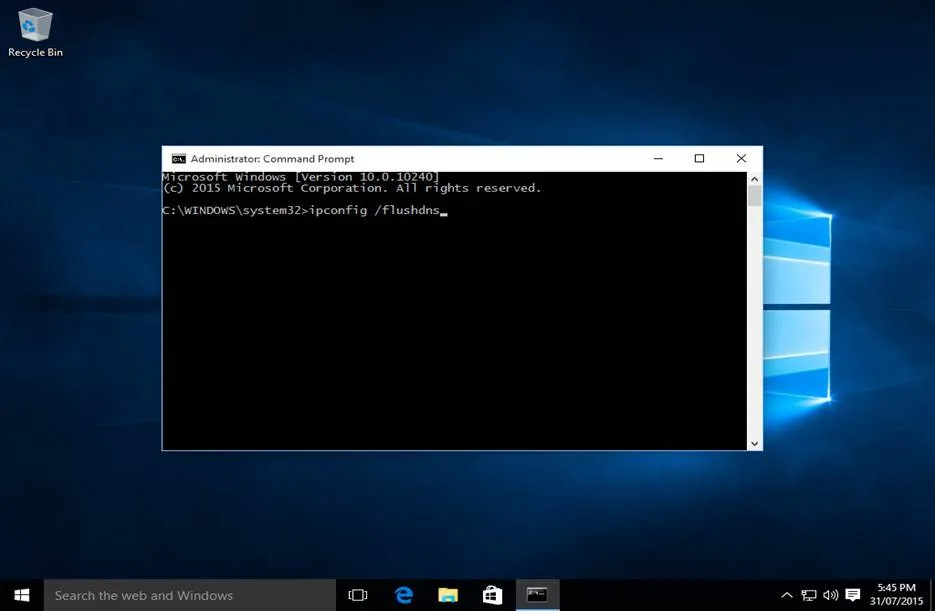
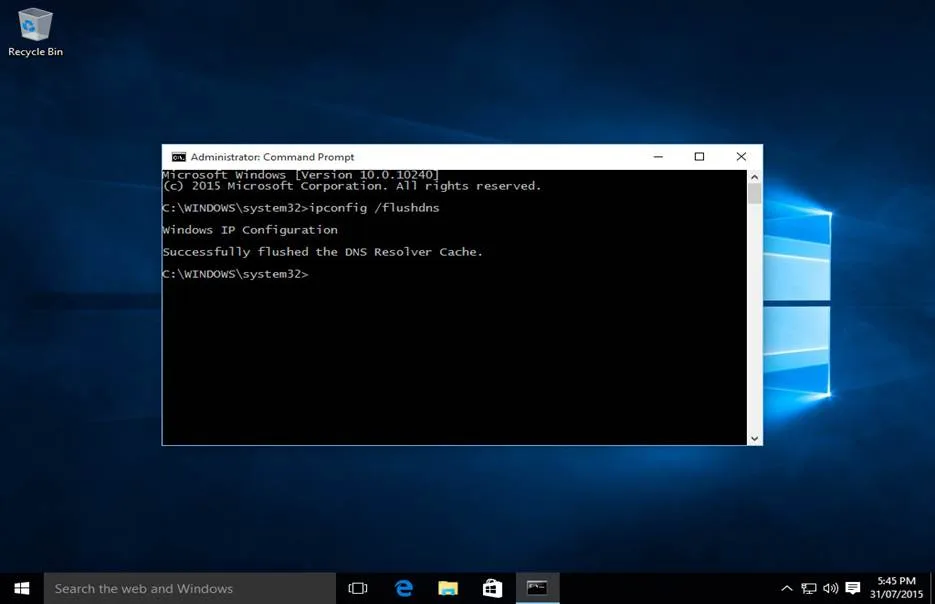
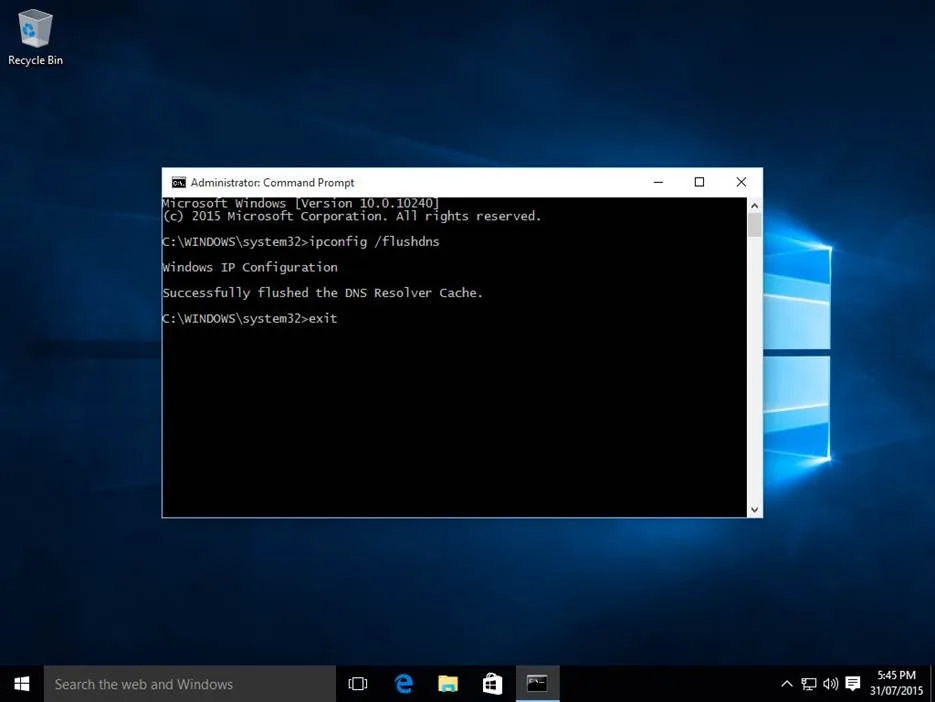
In the command window, type the following command:
CMD: ipconfig /flushdns
Press Enter.
Apple MacOS and Mac OS X
From the Mac Terminal app, you need to run the following command depending on your version:
MacOS 11 & 12 (Big Sur, Monterey)
MacOS 10.12 - 10.15 (Sierra, High Sierra, Mojave, Catalina)
Mac OS X 10.7 - 10.9 & 10.11 (Lion, Mountain Lion, Mavericks, El Capitan)
Steps to Flush DNS Cache on macOS
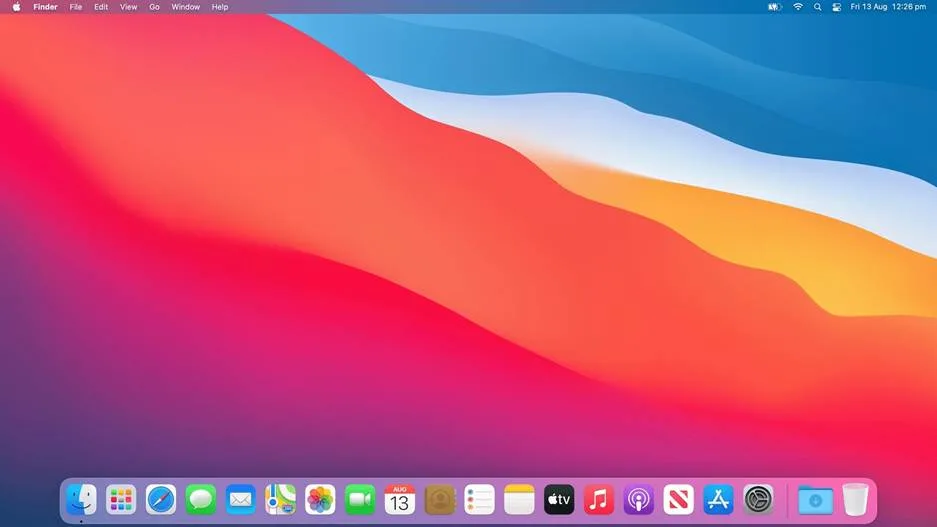
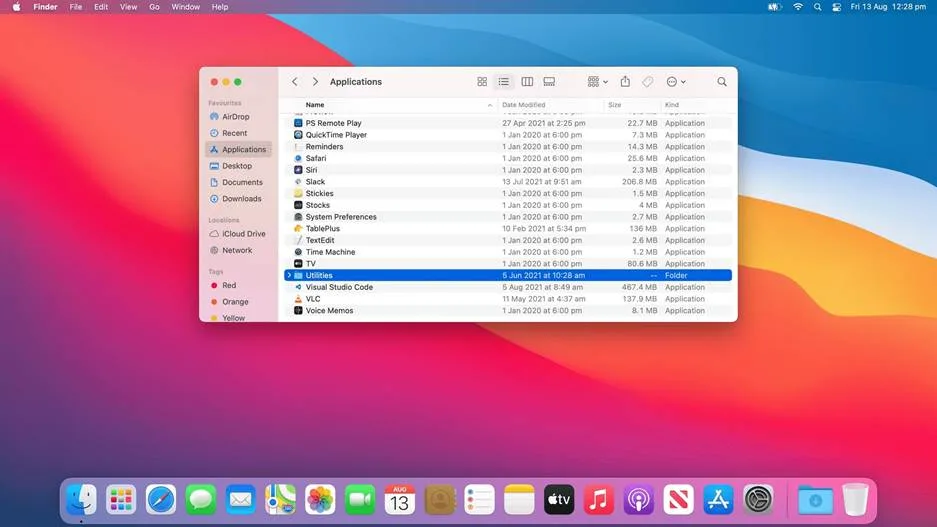
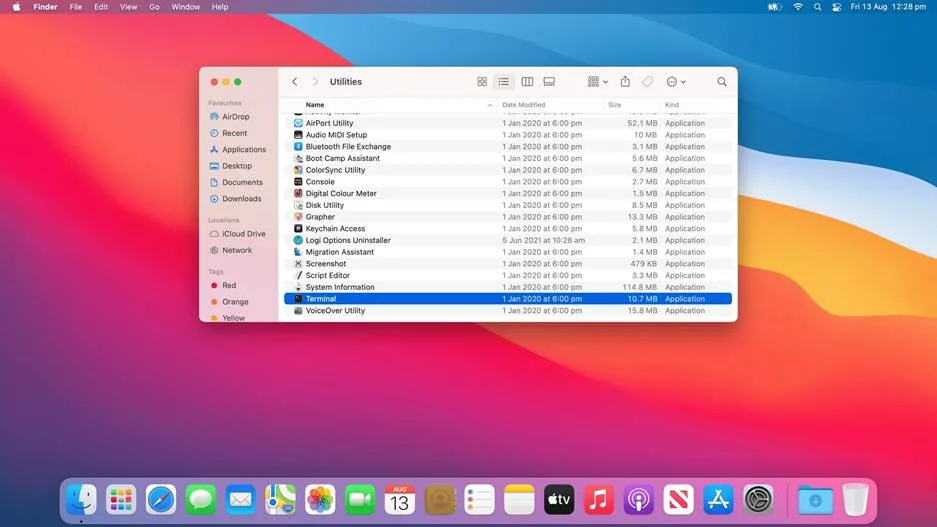
Open Finder.
Navigate to Applications → Utilities.
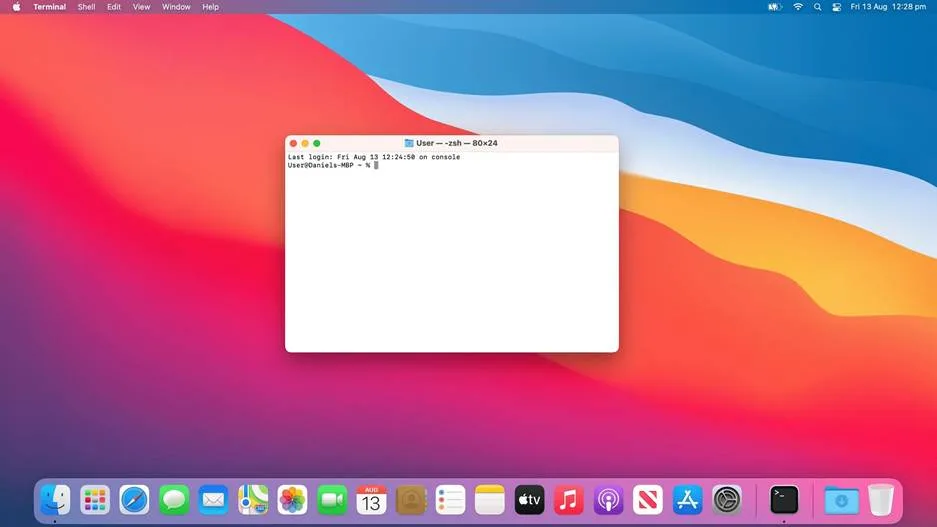
Open the Terminal application.
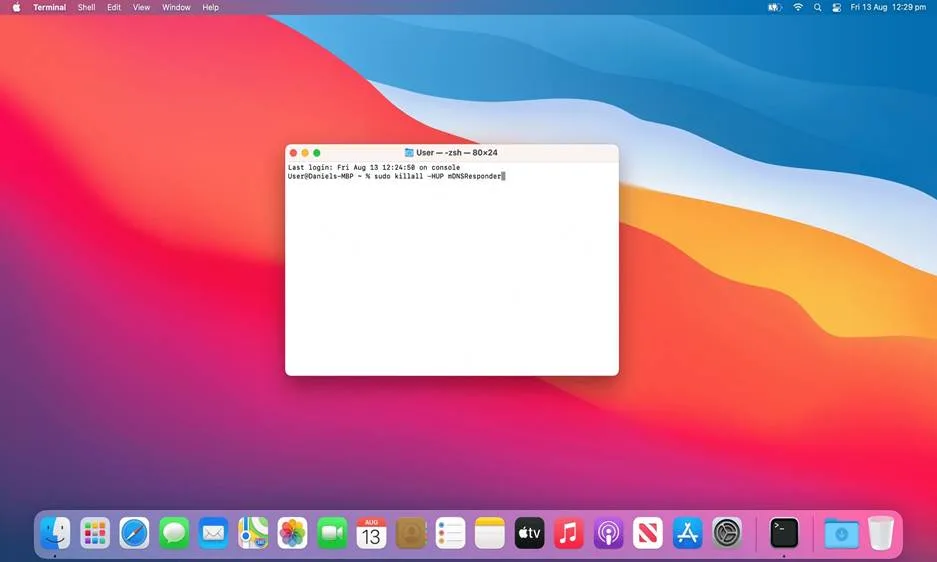
Enter the following command:
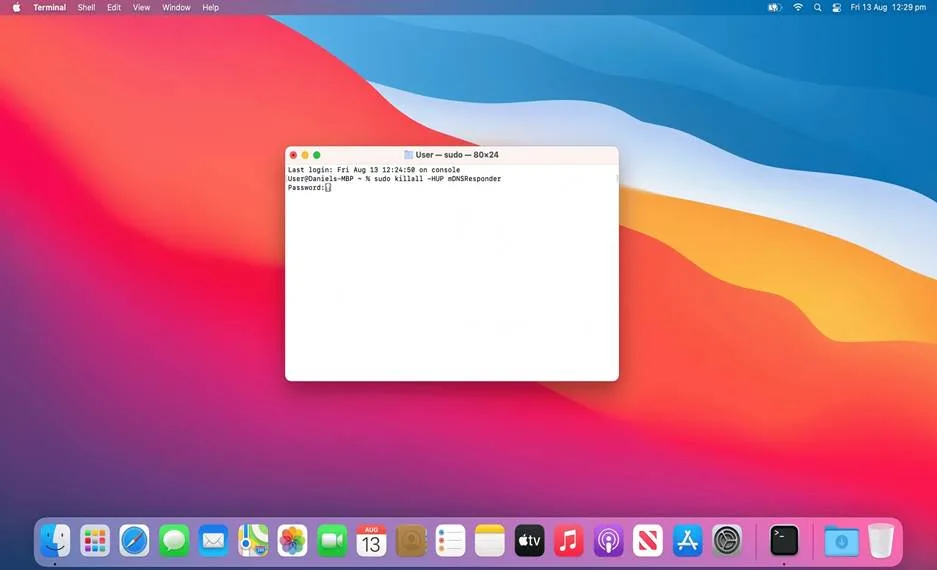
CMD: sudo killall -HUP mDNSResponder
Press Enter.
Mac OS X 10.10 (Yosemite)
sudo discoveryutil mdnsflushcache
Mac OS X 10.6 (Snow Leopard)
sudo dscacheutil -flushcache
Mac OS X 10.5 (Leopard) and below
sudo lookupd -flushcache
Expected Result
After flushing the DNS cache, the device will query DNS servers for the latest records, which can help resolve website accessibility and DNS propagation issues.
Common Use Cases
Website not loading after DNS changes
Domain pointing to an old IP address
Recent A record, CNAME, or MX record updates
SSL validation issues
DNS propagation troubleshooting
Resolution
Flush the DNS cache using the appropriate command for your operating system and then reopen the browser to verify the latest DNS records are being used.
- DNS Flush