
How to Compress Files in cPanel
Summary
You can easily compress files and folders in cPanel using File Manager. This allows you to create a ZIP archive of your website files, which can be useful for backups, downloads, or transferring files.
Applies To :
cPanel
Symptoms
You may need to compress files or folders when you want to:
Create a backup of website files.
Transfer website files to another location.
Resolution
Step 1: Log in to cPanel
Log in to your cPanel account and open File Manager.
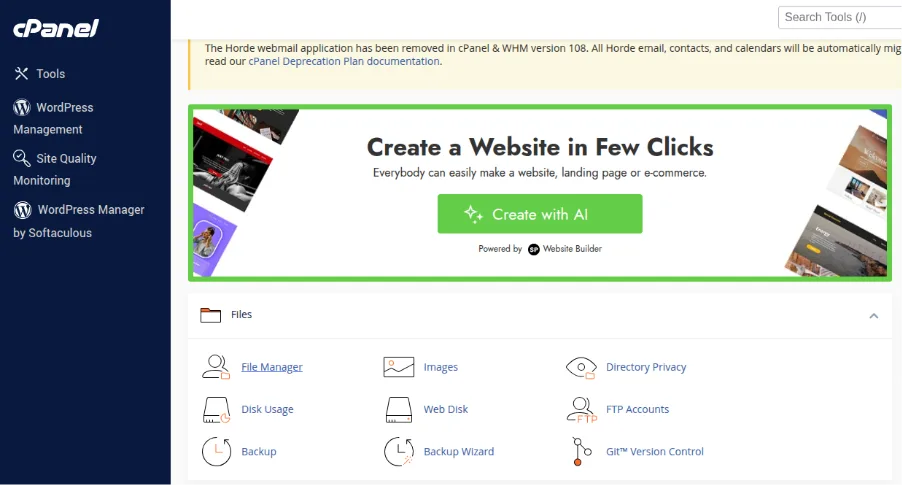
Step 2: Open the public_html Directory
Once File Manager opens, you will usually be in your home directory.
From the left-hand sidebar, click public_html to access your website files.
Step 3: Select the Files or Folders
You can compress a single file, a specific folder, or multiple files and folders together.
To compress the required files and folders:
Select the required files and folders.
Right-click on the selection.
Click Compress.
You can also click the Compress option from the top navigation menu in File Manager.

Step 4: Select the Compression Type
A pop-up window will appear asking you to select the compression type.
Select Zip Archive to create a ZIP file.
Step 5: Choose the Archive Name and Location
Scroll down to the Enter the name of the archive to create field.
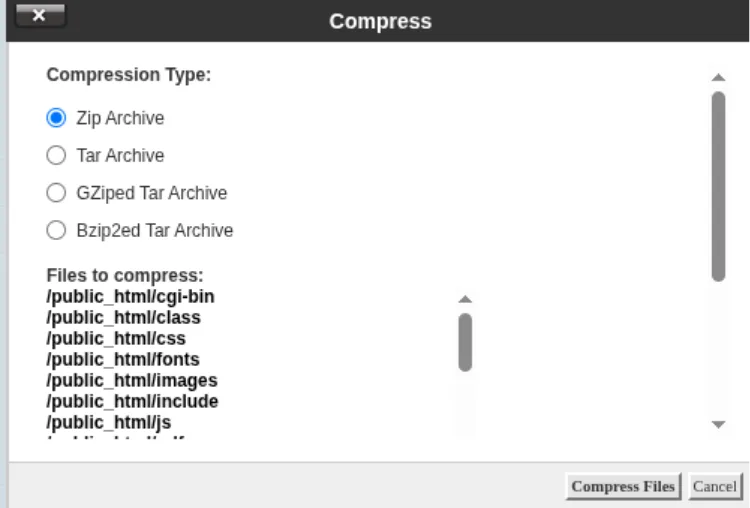
You can keep the archive in the public_html directory and provide a suitable name, such as: