Before proceeding for split routing (split delivery setup) make sure your domain is listed on accepted domains.
- Login into Microsoft Office Admin Panel >> Under Admin Centers >> Exchange

- Go to mail flow >> Accepted domains.

- Make sure Internal Relay is selected (very important).

Now we can add the connectors
Part 1: Configure mail to flow from Office 365 to your email server.
Part 2: Configure mail to flow from your email server to Office 365.
Part 1: Configure mail to flow from Office 365 to your on-premises email server
1. Login into Microsoft Office Admin Panel >> Under Admin Centers >> Exchange
2. Go to mail flow >> open connectors Tab >> Click [+]icon.

3. When you click [+] icon it will ask to set a mail flow scenario.
Here, select From as “Office 365” and “To” as “Your organization’s email server” and click Next.

4. Now you will see option to add New connector. Give it a Name and Description, tick all the options and click Next.

5. It will ask when this connector should be used, Select “Only when email messages are sent to these domains” and click [+] icon.

6. Add your domain name Eg:“iwantdemo.com” and click OK.

7. After adding domain name you will see the domain has been listed. Click Next.

8.Now, it will ask external server (shared server) details. You can Add SMTP IPs, MX records or mail.domainname and then click Next. (Here, we are using SMTP IP as 103.14.97.90)

9. Now, it will ask if the TLS is enabled on external server or not.
If yes, Tick “Always use Transport Layer Security (TLS) to secure the connection” and Select “Any digital certificate, including self-signed certificates”
If no, don’t select anything.
(Here, we have not selected anything as TLS is not enabled on our shared server.) Click Next.

10. Now it will open confirm settings page, verify all the settings and click Next.

11. Now to validate this connector it will ask to enter a email id which is present on your external server not on Microsoft exchange server.
Once you enter the email id click Validate. (here we have added shared@iwantdemo.com as this email id is present on our shared server 103.14.97.90).

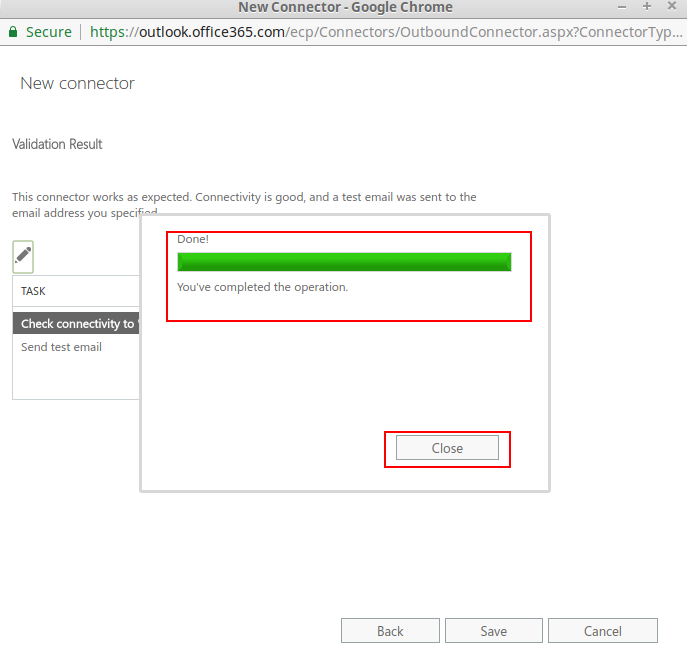
12. It will validate the connector by checking SMTP server connection and sending a test email to external server email id.

13. Once the operation is completed click Close.
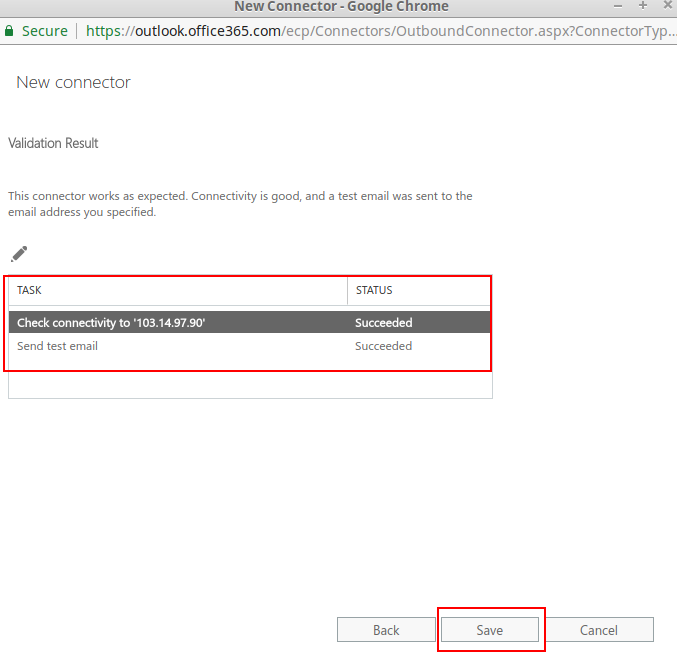
14. Now you will see validation status as succeeded click save.
(here if you get status as failed then it seems your settings is not proper in this case kindly recheck the same and validate again)
Part 2: Configure mail to flow from your email server to Office 365.
1. Our connector from “Office to Shared” is created. Now, click [+] icon to add another connector.
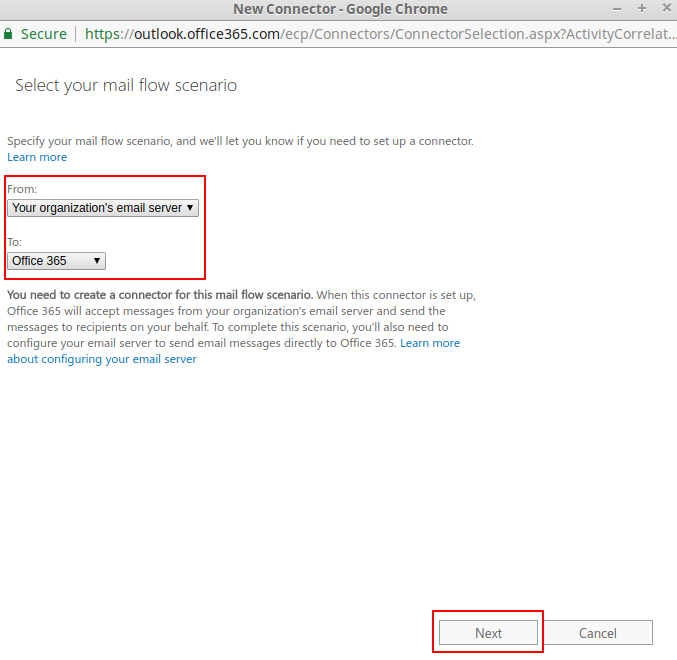
2. When you click [+] icon it will ask to set a mail flow scenario.
Here, select From as “Your organization’s email server” and “To” as “Office 365” and click Next.
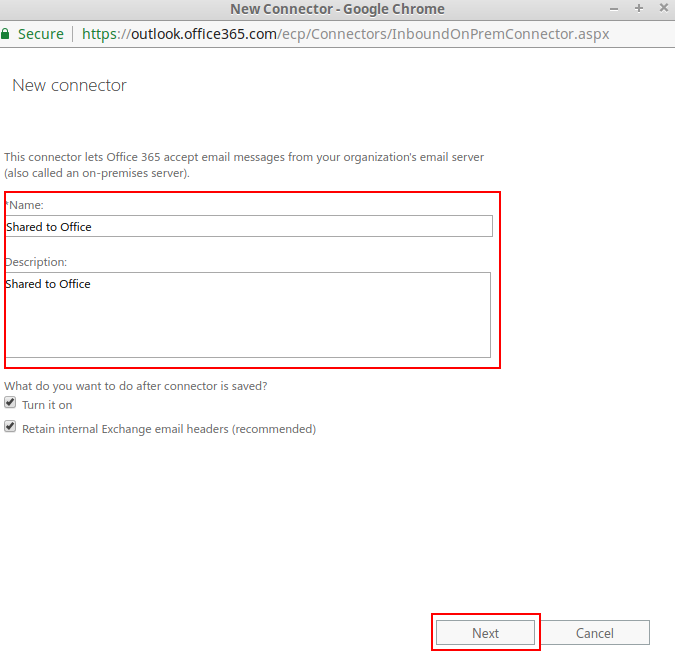
3. Now you will see option to add New connector.
Give it a Name and Description, tick all the options and click Next.
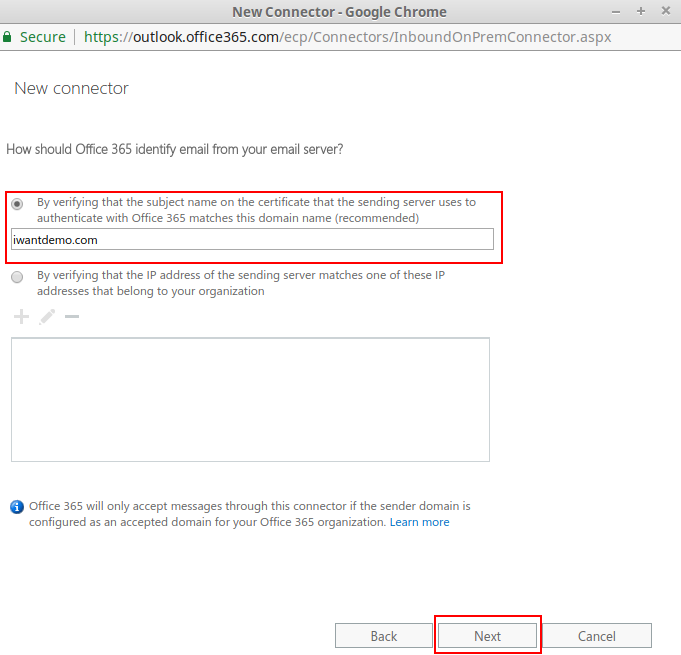
4. It will ask how Office 365 will identify your external mail server.
Select 1st option >> enter your domain name and click Next.
5. Now it will open confirm settings page, verify all the settings and click Save.
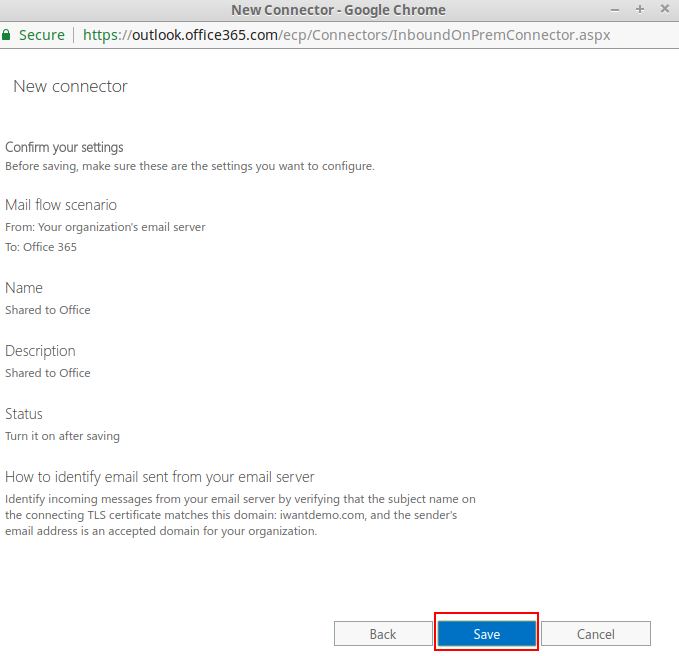
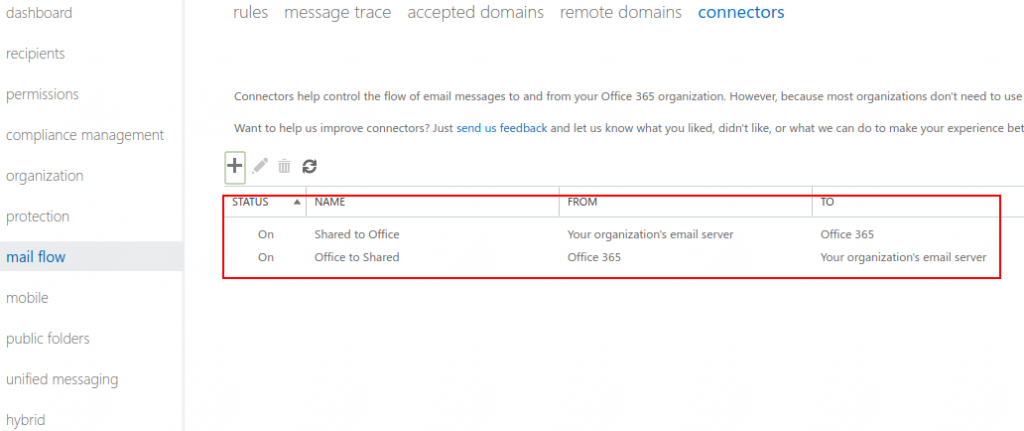
6. Now you can see both the connectors are added.
