- Login to your admin account using the UR: portal.office.com
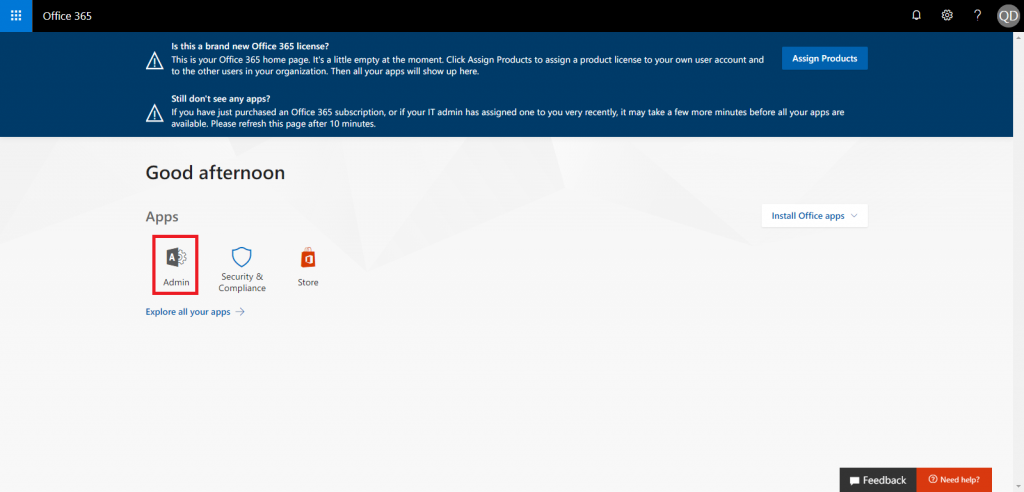
- Under Apps select Admin.
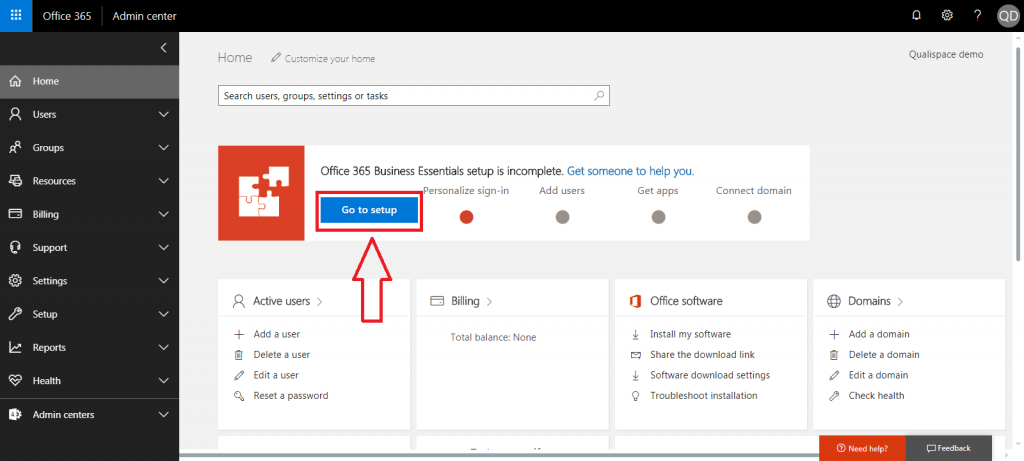
- Click “Go to setup”.
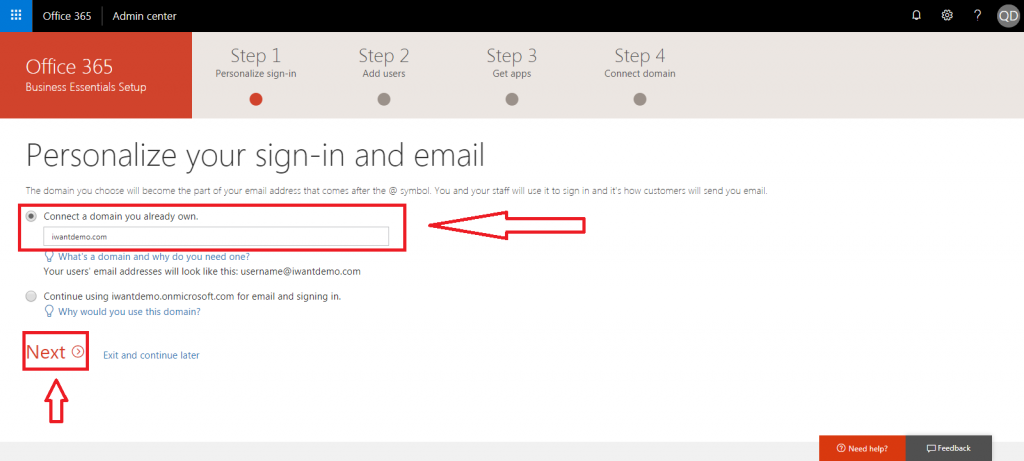
- Select, Connect a domain you already own and click Next.
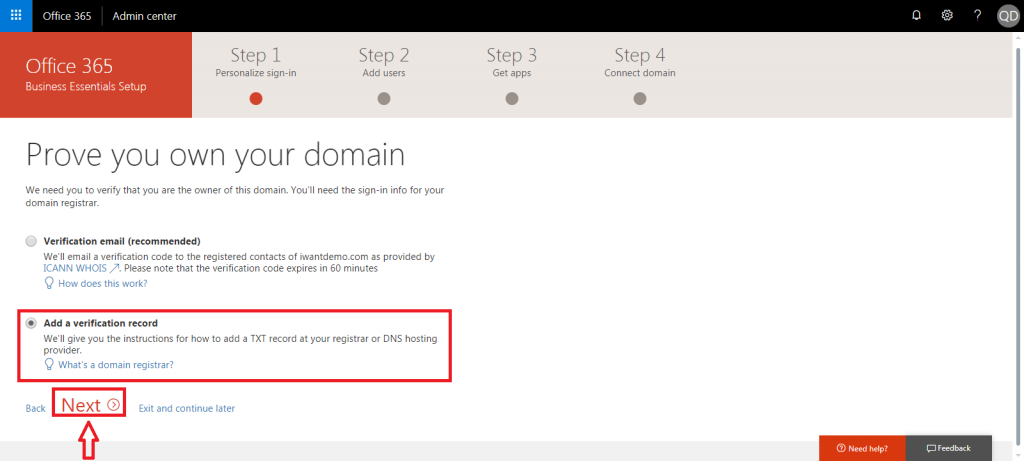
- Now, it will ask to verify your domain name. (here we are using TXT verification method to verify the domain) select and click Next.
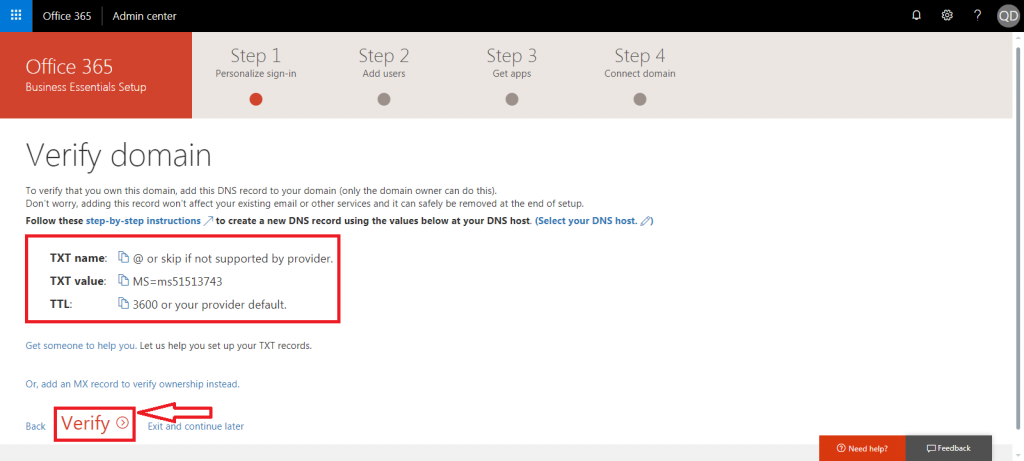
- Now, with the help of DNS panel enter provided TXT records and click Verify.
- Once the domain is verified you will see Add new users page. Enter your username and click next.
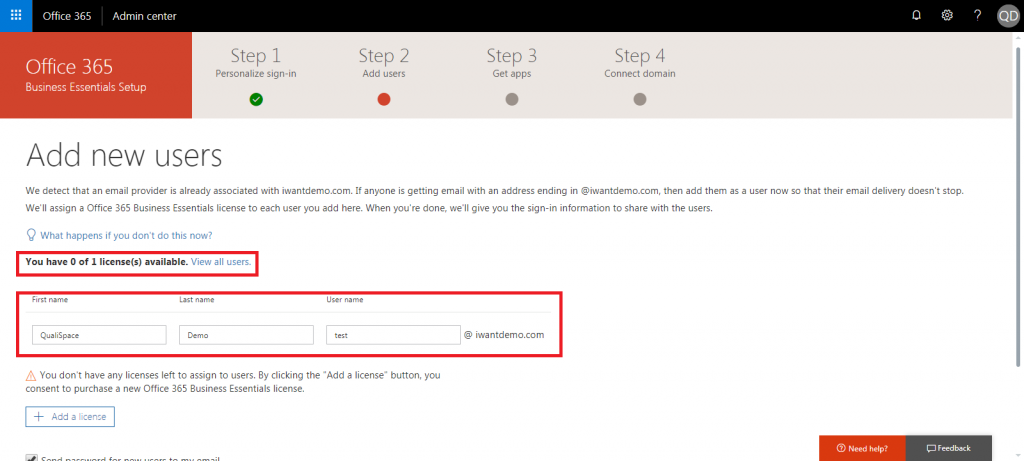
- You can share login credentials to alternate email id and click Next.

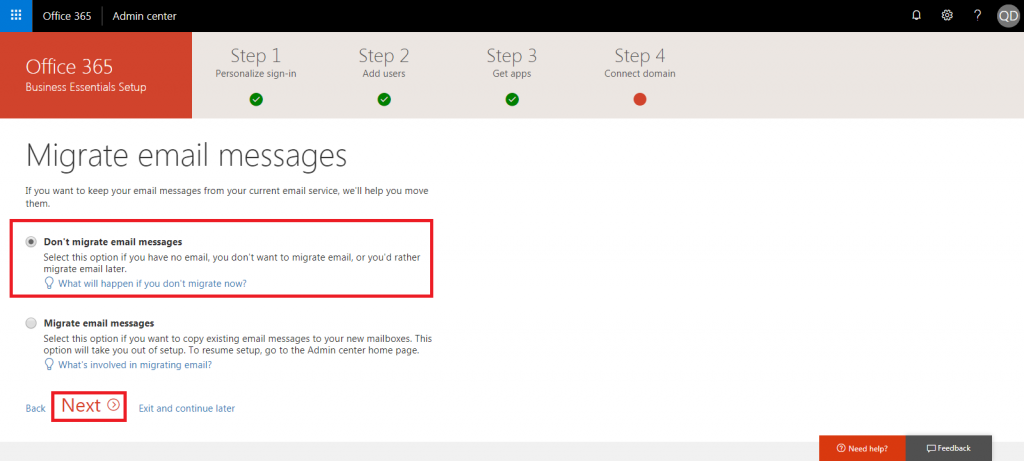
- Now it will ask if you want to migrate your emails from existing server to office 365 or not select any option and click Next. (here we have selected “Don’t migrate email messages”).
- Now you need to connect your domain to office 365 select any of the below 2 options and click Next. (here we are selecting “I’ll manage my own DNS records”).

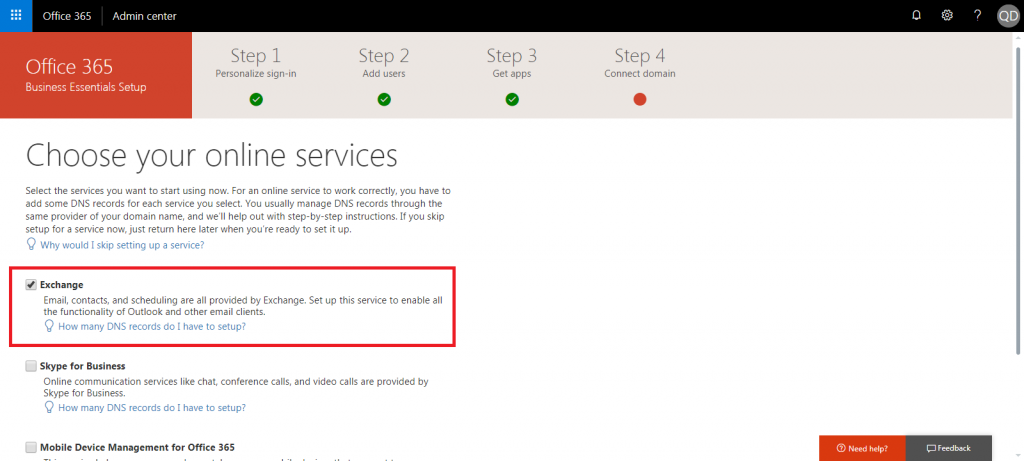
- Get DNS records for your online services (here we have selected Exchange to run office 365 outlook services).
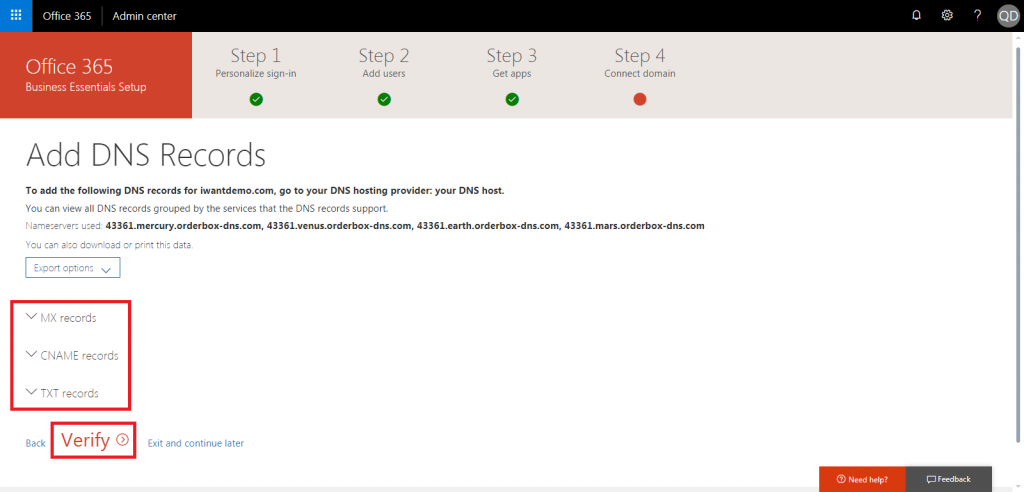
- You will get a list of DNS records which needs to b updated under your current DNS panel and click Verify.
- Once the DNS is verified you will see “End of setup” page. Give your ratings accordingly and click “Go to the Admin center”.
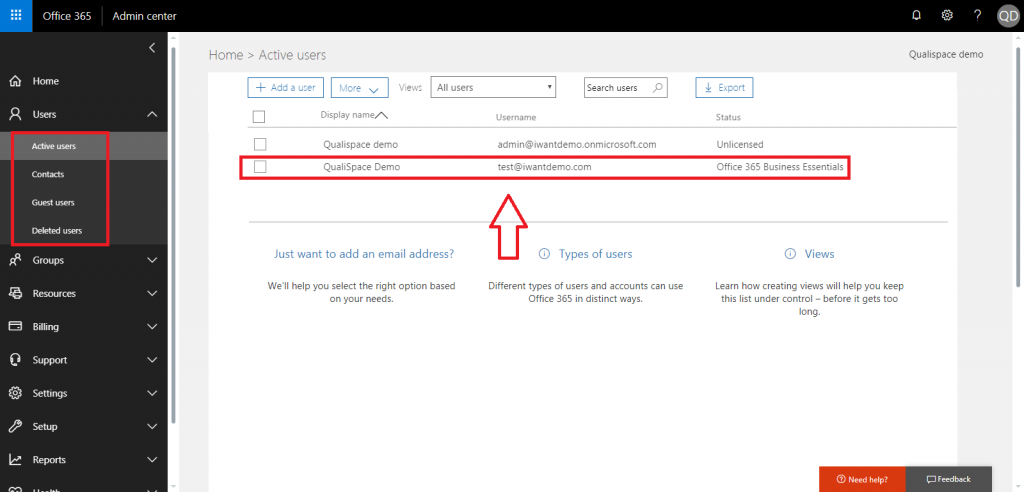
- Now, under Admin panel > Active Users, you can see your email id is created.