1. Login to control panel of Microsoft Office 365 using following URL: portal.office.com
2. Go to Admin Panel.
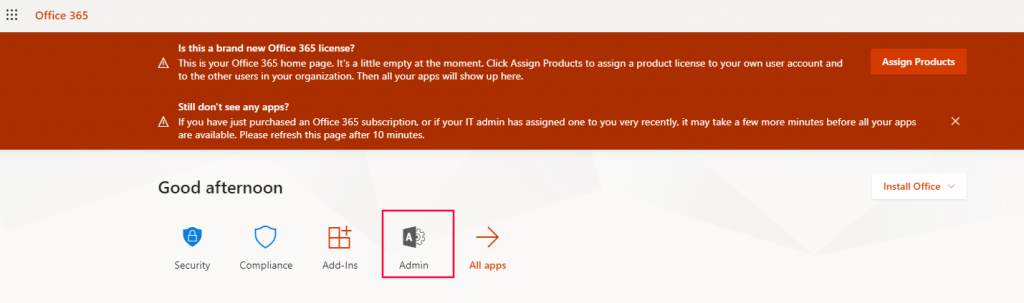
3. Navigate to Exchange to open Admin Exchange centers.
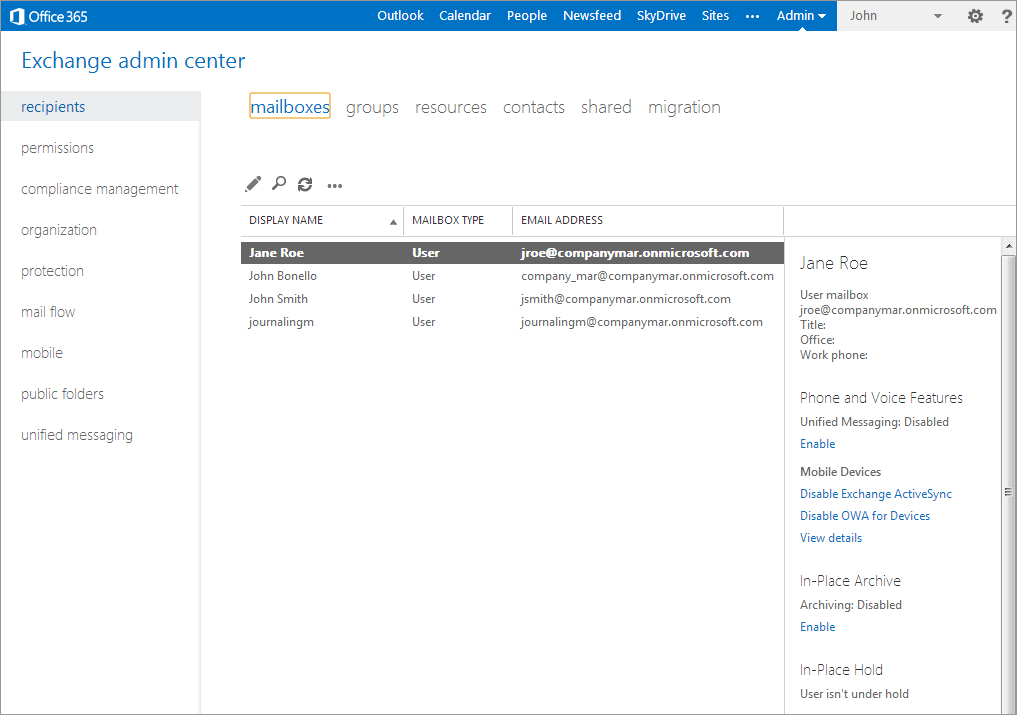
4. Select mail flow to create the Forwarding/BCC rule.
5. In the rule tab, select the + (New) and select create a new rule.
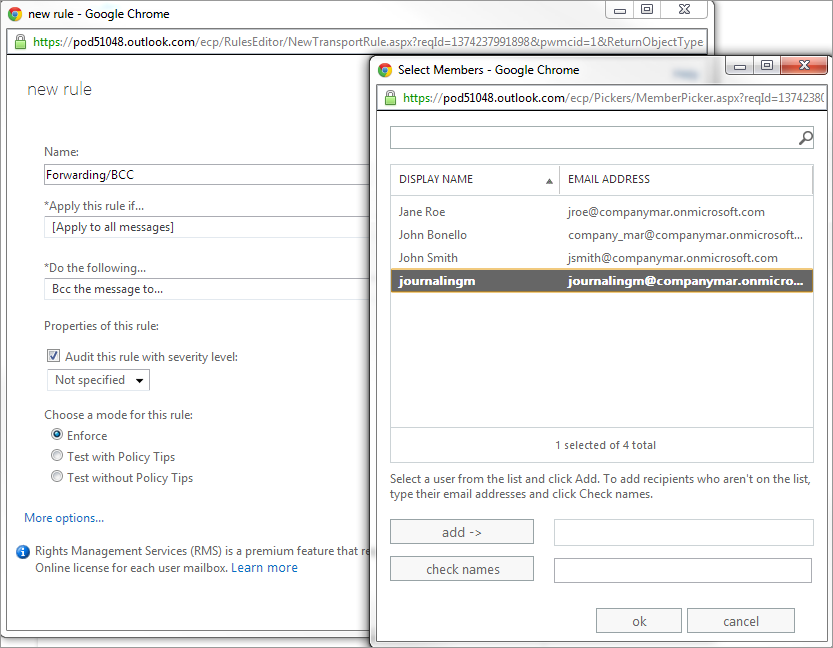
6. In the new rule screen, configure the following options:

7. When prompted with the warning: Do you want to apply this rule to all future messages?, click yes.
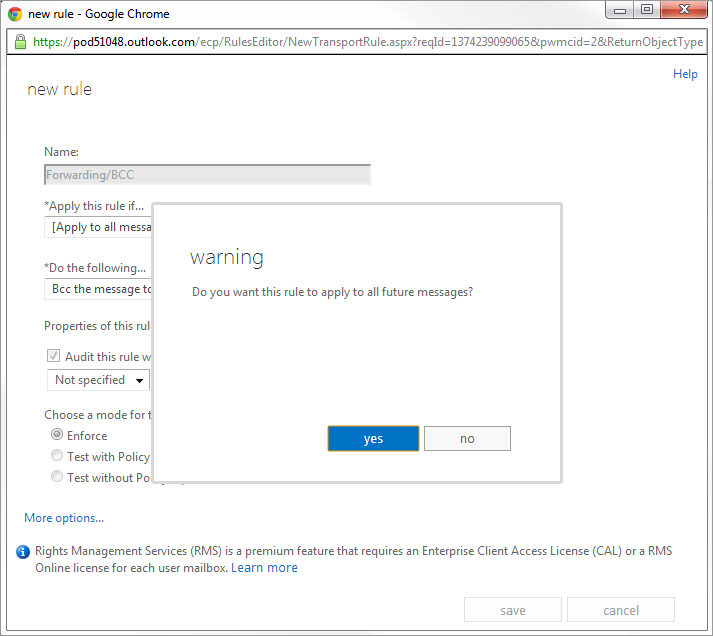
8. Click save
9. View and verify the configured Forwarding/ BCC rule.