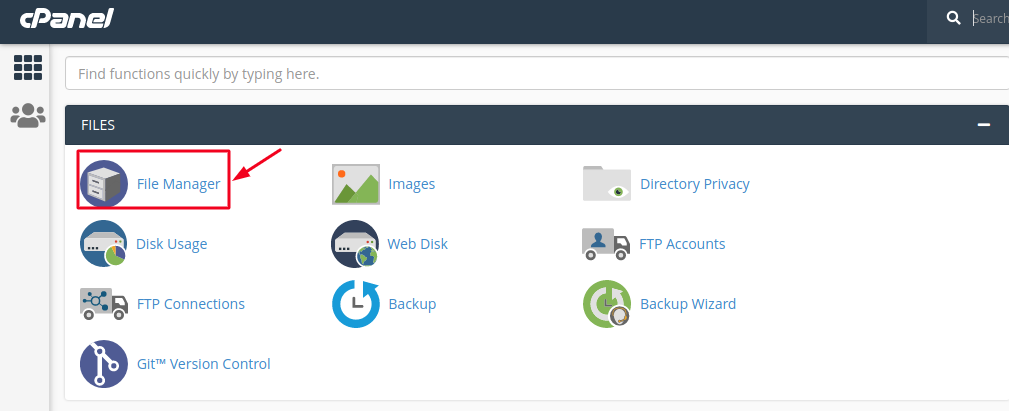
Step 1: Login to your cPanel account and open File Manager.
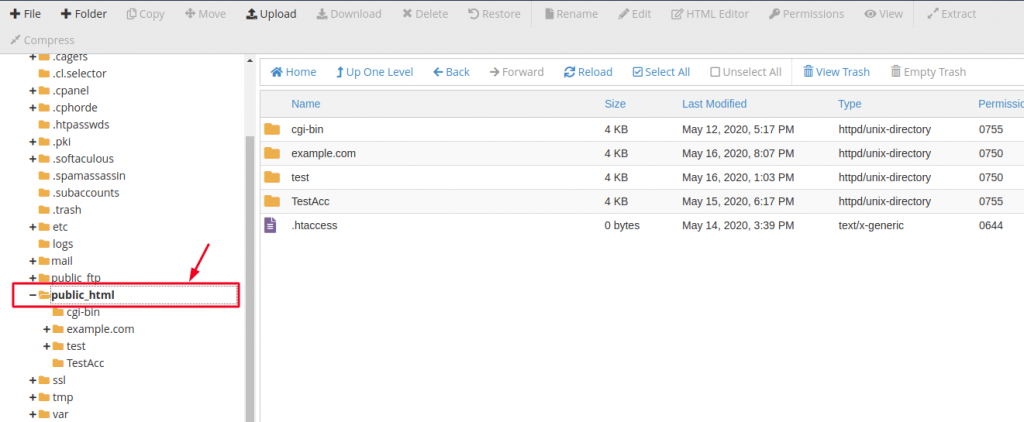
Step 2: You will be redirected to a new page, make sure you are in the public_html directory, click on it from the left-hand sidebar.
By default, you will be in the home directory after opening the file manager.
Step 3: As you can see, there are many files and folders present. You can compress a single file or all of them. Depending on your choice, select them.
Let me show you an example to compress all the files and folders together, which is also helpful in backing up your website’s data.
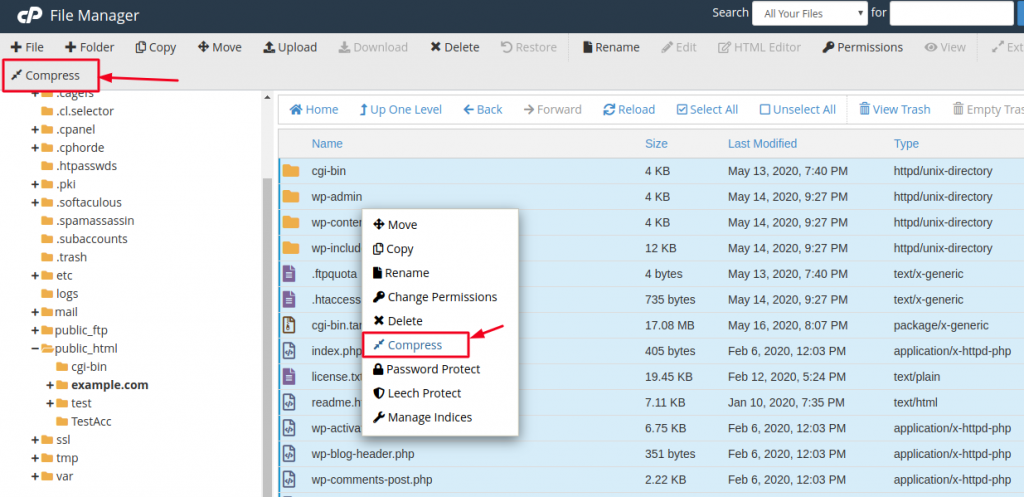
Select all and right-click to choose compress. As usual, you can also use the standard compress option from the main navigation menu of cPanel.
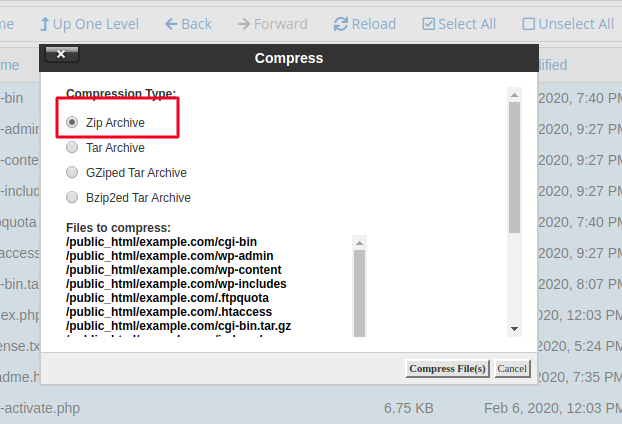
Step 4: A popup appears to ask you the type of compress file you want. Choose whichever extension you want to compress your files in, for example if you want to have ZIP File then choose the radio button to get a ZIP file.
Step 5: Scroll down, and you can see a field to fill in the location of the file. It’s better if you keep the file in the public_html directory, but change the file name.
In the below example, I have chosen as “backup”.
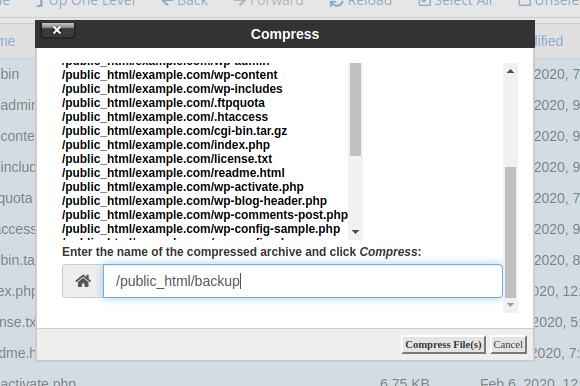
Click on the ‘Compress File(s)’ button.
Step 6: You can see the process going on to create an archive with its location. For my file, the location is public_html/backup.
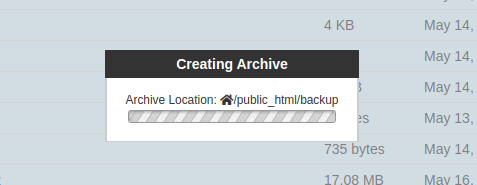
You have to wait for a while. Depending on the size and number of files you have, cPanel compresses them. After a while, you can see a big popup showing the compress percentages of different files.
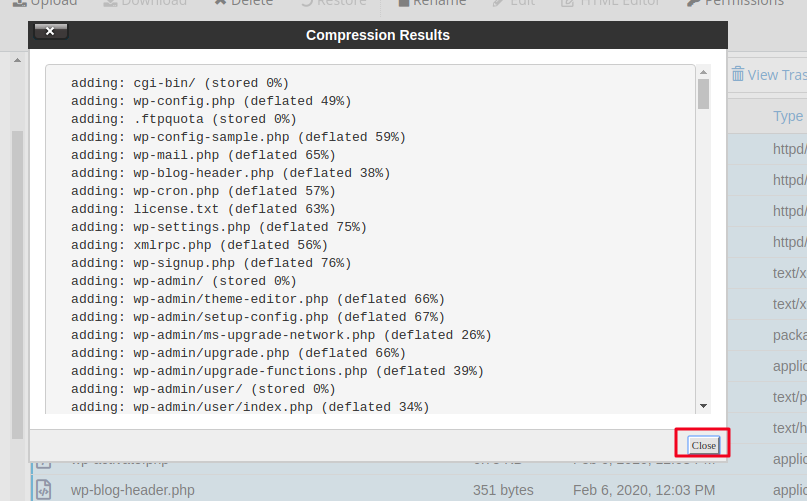
Click on the Close button and refresh the page.
Now, you can see a ZIP file available in the public_html directory. If you want, you can download the file to your computer by right-clicking on the file and selecting ‘Download’.

And you can save the compressed file safely on your local computer.