- Login to your Plesk Panel.
- Click on the domain on which you need to install the SSL certificate.
- Click on SSL/TLS certificates.
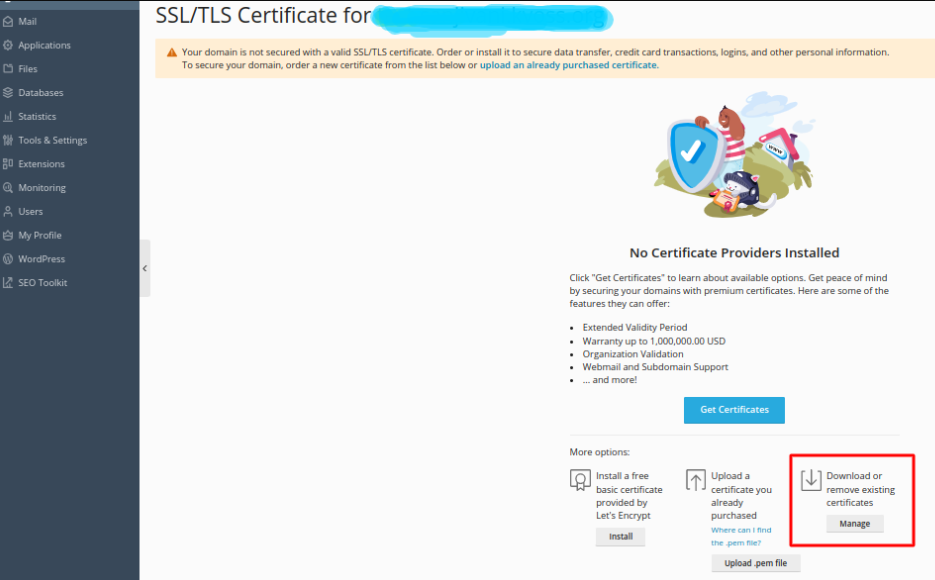
4. Click on manage
5. Click on +Add SSL/TLS Certificate.
6. Enter the details. You can refer to the below screenshot.
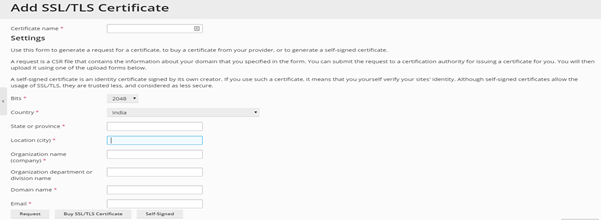
7. Click on request.
8. The CSR will be generated along with the private key
9. After CSR generation provide the CSR to the SSL certificate provider. They will provide you verification method to complete the verification process.
10. Once you have completed the verification process, the SSL provider will provide you with the SSL certificate file, which will include the certificate and CA_bundle.
Step 2: Uploading SSL certificate file in the Plesk panel.
- Click on SSL/TLS certificate.
- There will be your domain name >> Click on that.
- There will be an option of upload certificate >> Upload the certificate and CA bundle as the private key will be present by default if CSR was generated from the same Plesk panel.
Step 3: Once you have uploaded the certificate files, you need to enable SSL/TLS support.
- Click on the Hosting setting in your Plesk panel.
- Under security, section enable the SSL/TLS support and Permanent SEO-safe 301 redirect from HTTP to HTTPS.
NOTE: You can skip step 3 if redirection is enabled via code by your developer.