Steps to update DNS records from the client area.
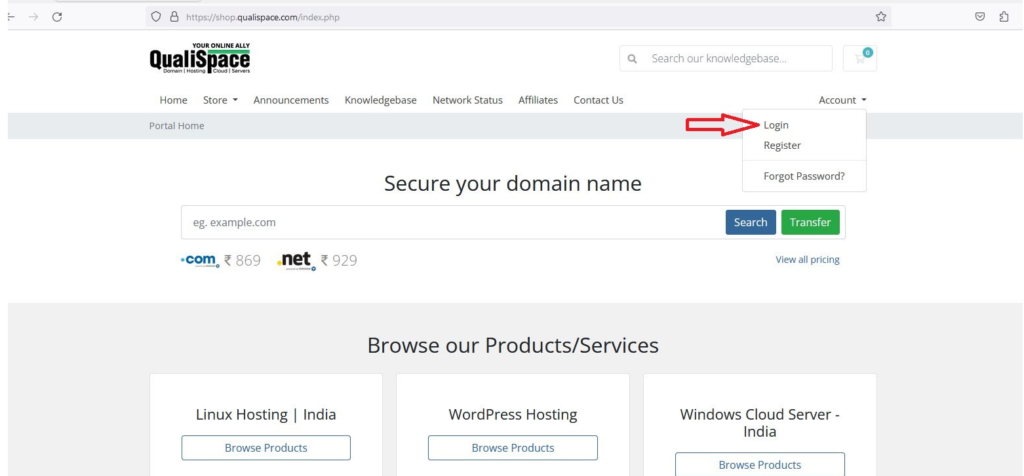
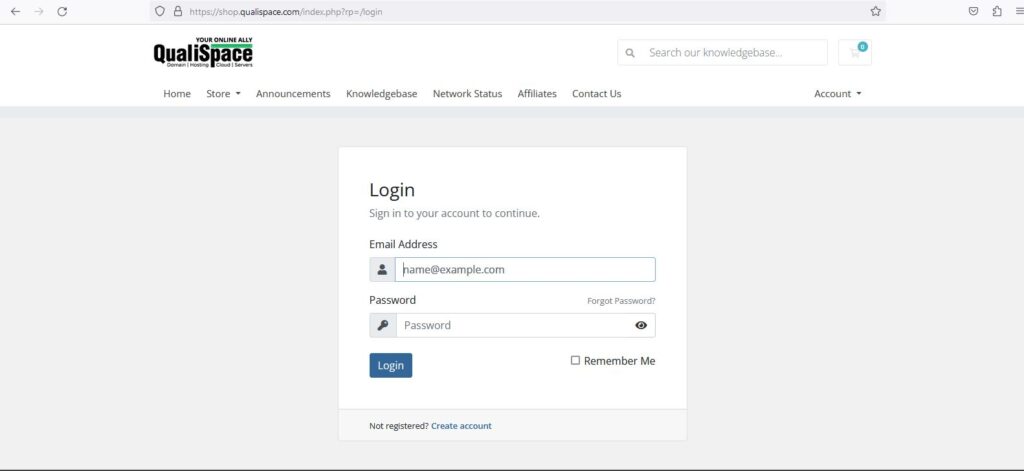
- Login to QualiSpace client area from your registered email ID.
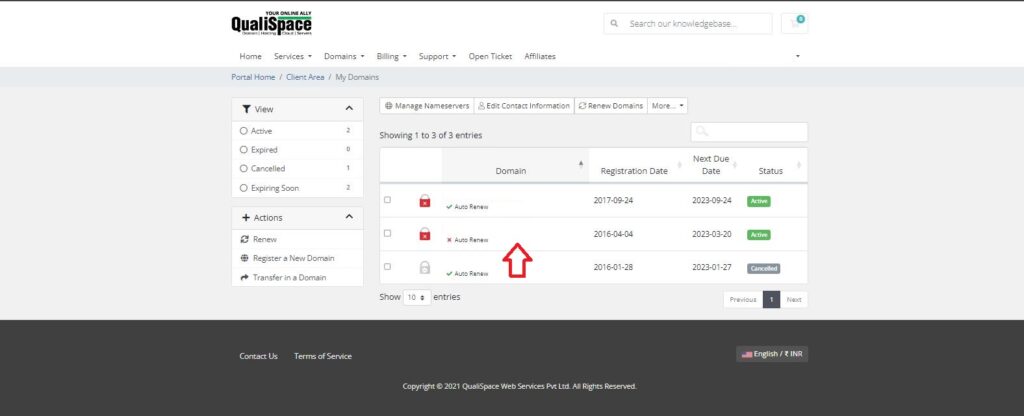
- Click on the Domains option:

- Click on the appropriate domain for which you need to add the DNS record.
- Go to the DNS Management option:
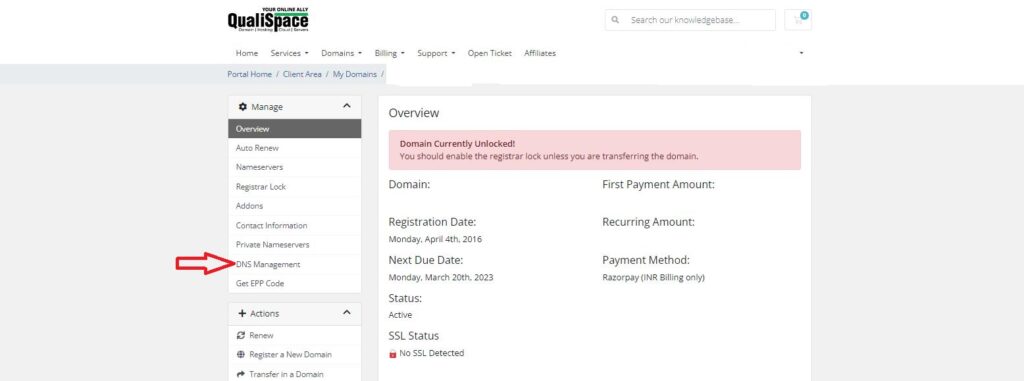
- Now you can Add DNS records by selecting the desired Record type from the dropdown and click on save changes.
