Joomla is an open source platform on which Web sites and applications can be created. It is a content management system (CMS) which connects your site to the database in order to make content management and delivery easier on both the site manager and visitor.
Here we are going to walk you through the steps to install Joomla using cPanel.
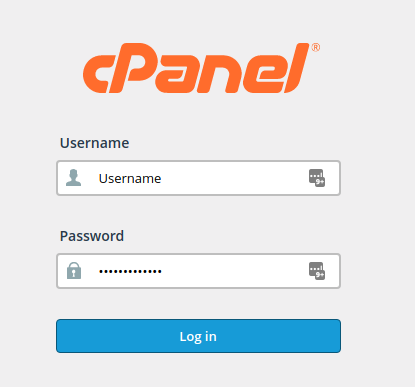
- Visit your cPanel account on browser by entering ‘www.domain.com/cpanel’ where ‘domain.com’ is the primary domain name associated with your hosting account. Then, enter your username and password and click on Log in.

- On the search text box, enter ‘Softaculous’ and launch the application Softaculous Apps Installer by clicking its icon as shown below:

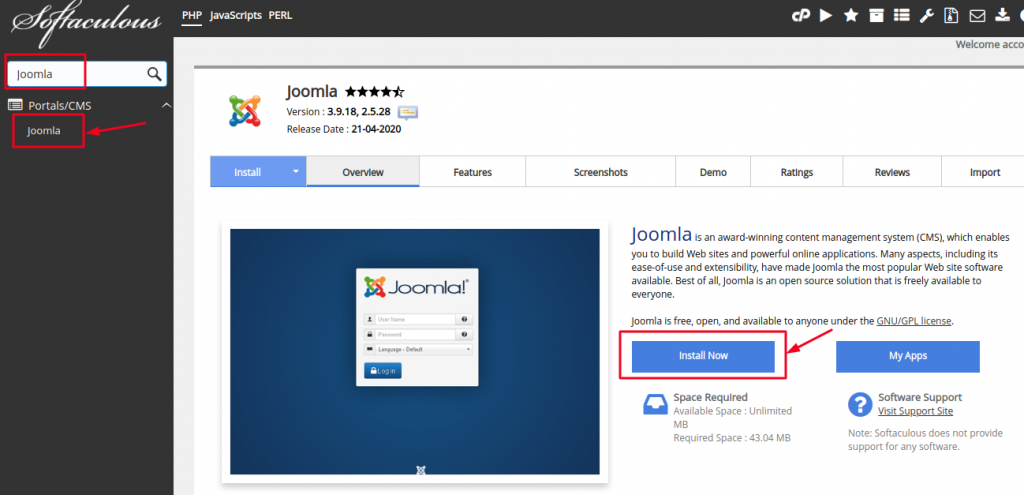
- Once you are in the Softaculous dashboard, search ‘Joomla’ from the Search option in the Left side pane. You will find Joomla under the Portals/CMS category. Click its link and on the Right pane, locate ‘Install Now’ button and click on it. The version number will be displayed at the top of the page as shown below.

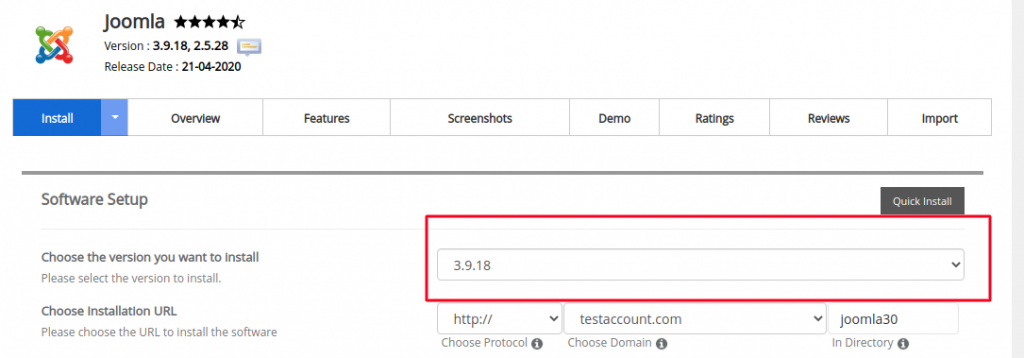
- Next, you will need to complete the Setup of Joomla software as per your requirements.
First, you have to choose the Joomla version you want to install from the drop-down.

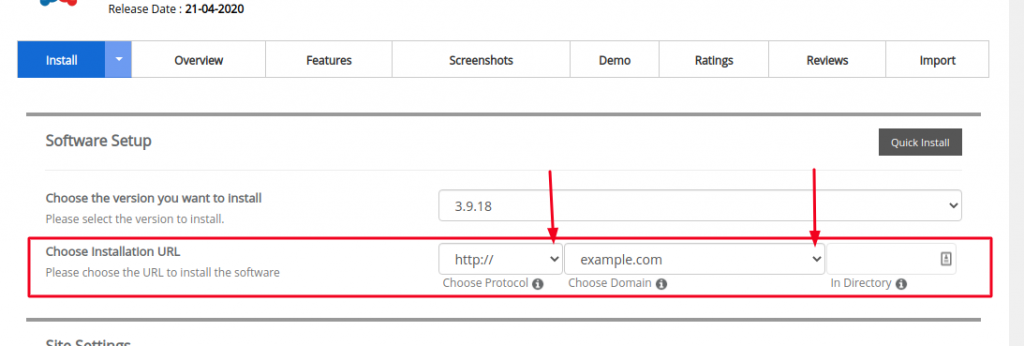
Then, you will have to choose the URL to install the software. Here, select the appropriate protocol from the dropdown. The best one is ‘https://www’, however, to use this option, make sure you have an SSL installed on your domain otherwise you may chose ‘http://www’ protocol.
Then choose a domain name and a directory where you want to install your Joomla software. If you are building a webpage solely for Joomla then you may leave the ’In Directory’ field empty. However, if you have other installations as well, under the root directory of your website then you should enter a value here e.g. joomla.

Then, enter the name of your Site and Description as shown below:

- Next, you will be asked to enter Admin Account details. Create a Username and Password for logging into your Joomla dashboard. Always make sure to use a strong password with a mix of numbers, symbols, lower case and upper case letters, for e.g. ‘My!P@ss1024#$JJ%’
Also enter the Name and the Admin Email which you want to use.

Then, select your desired language from the drodown box and click ‘Install’. You may enter your email address on the field labeled, ‘Email Installation details to’ for future references or you may keep it blank.

- Softaculous will then check the submitted data entered while Setup and automate the installation process which includes creating a database, copying files and enabling the required settings on your website.
Once the installation is successfully completed, you will receive a success message on the Screen as below:

Finally, you can access your Joomla forum by visiting the URL that you mentioned during the setup, for e.g. http://www.example.com.
For administrative purposes, visit the URL ‘http://www.example.com/administrator’ and remember to replace ‘example.com’ with your correct domain name.
